When shooting digital photos, out of 400 images from a model shoot, perhaps only five are truly exceptional. This illustrates an important principle: quantity doesn’t necessarily equate to quality. Often, when we limit ourselves to working with fewer images, we become more creative with our possibilities. What if we challenge ourselves to select just one image to transform into a unique piece of art?
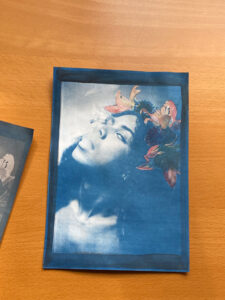
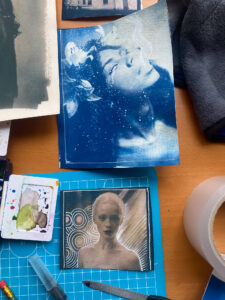
The Magic of Cyanotype Cyanotype is a 19th-century photographic printing process known for its distinctive blue tones. The results can range from subtle light blue to intense Prussian blue. It’s one of the most accessible, affordable, and rewarding alternative printing processes. The chemicals used are relatively safe, making it suitable even for projects with children.
Process Overview:
- Digital Preparation:
- Select your image
- Convert to black and white
- Increase contrast to emphasize light and dark areas
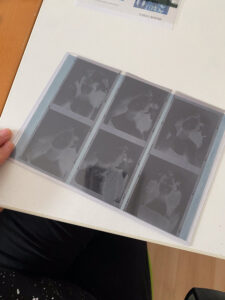
- Invert to create a negative
- Print on transparent film (compatible with both laser and inkjet printers)
- Creating Light-Sensitive Paper:
- Choose a surface (watercolor paper or even the inside of a toothpaste box)
- Mix potassium ferricyanide and ammonium ferric citrate (available as pre-made A & B solutions)
- Apply evenly with a brush in dark conditions
- Let dry in darkness
- Exposure:
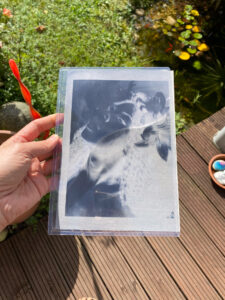
- Place negative on treated paper
- Secure with glass (e.g., clip frame)
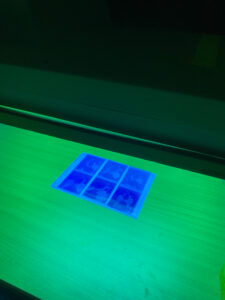
- Expose to UV light or strong sunlight (5-15 minutes)
- Watch for gray edges as exposure indicator
- Development:
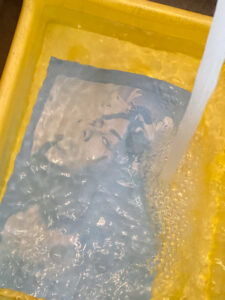
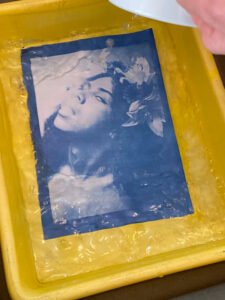
- Wash under running water until clear
- Optional: Use 3% hydrogen peroxide bath to speed up oxidation
- Allow to dry completely (image will continue to darken)
Creative Post-Processing:
- Toning:
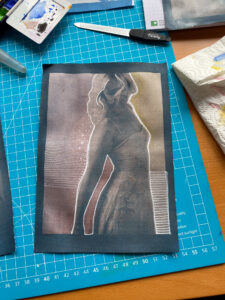
- Experiment with natural toners like strong green tea or coffee
- Try bleaching and redevelopment techniques
- Always make extra prints for experimentation
- Colorization:
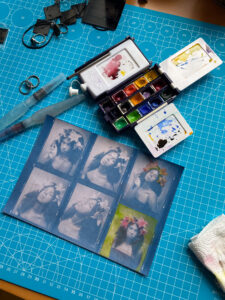
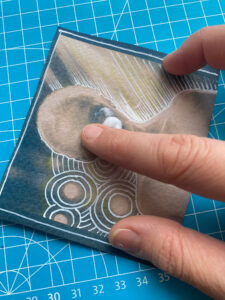
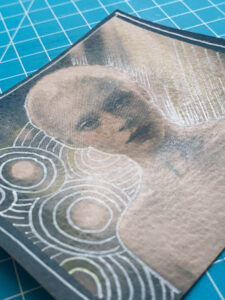
- Use watercolors, colored pencils, or wax crayons
- Add accents or modify backgrounds
- Create collages by combining with other images
- Finishing (Optional):
- Apply a thin wax layer using artist’s wax or white candle
- Let absorb
- Polish to desired shine
Why Choose This Process?
- Uniqueness: Each print is one-of-a-kind with its own character
- Tactile Experience: Creates physical, tangible art
- Creative Freedom: Offers more hands-on creative possibilities than digital editing
- Historical Connection: Bridges historical and modern photography techniques
Tips for Success:
- Mixed chemicals have limited shelf life – only prepare what you’ll use
- Monitor exposure times carefully
- Avoid over-washing to prevent image erosion
- Make multiple prints if planning to experiment with post-processing
- Be patient with drying and oxidation processes
Through this process, you transform a digital photo into a unique piece of handcrafted art. While it requires more effort than standard printing, the result is a memorable and personal creation that makes a wonderful gift for your photography subjects.
